Learn how to make naturally dyed yarn from experienced dye master and artist Deborah Brearley.
Deborah Brearley has been dyeing textiles using natural pigments for more than three decades, and in the world of natural dyeing that makes her a bit of a master.
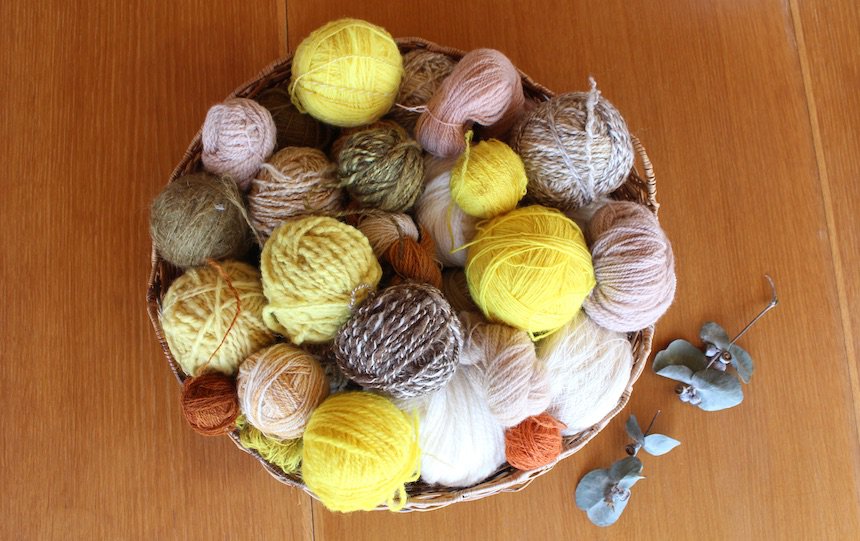
As well as dyeing her own fibres, Deb spins her own yarn and knits it into garments and artworks.
How to make naturally dyed yarn
Deb favours dyeing wool to start with, rather than cotton or other fibres, as the colours take very easily and there is less need for chemical mordants to fix the dye colour to the fibres.
Natural dyeing is a huge world, so this is a nice entry point. You can also use silk in the same way; but if you want to dye cottons you will need a more advanced understanding of mordants.
Deb also suggests collecting yarn remnants from op shops or your own stash, rather than buying new when starting out to make naturally dyed yarn.
To get started you will need:
- A light-coloured ball of pure wool, any ply
- A large pot (to be your dye pot forevermore)
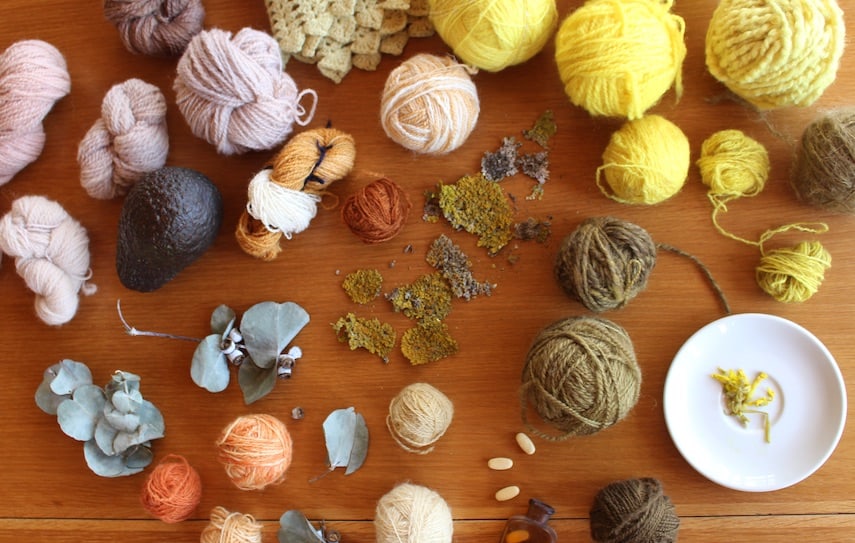
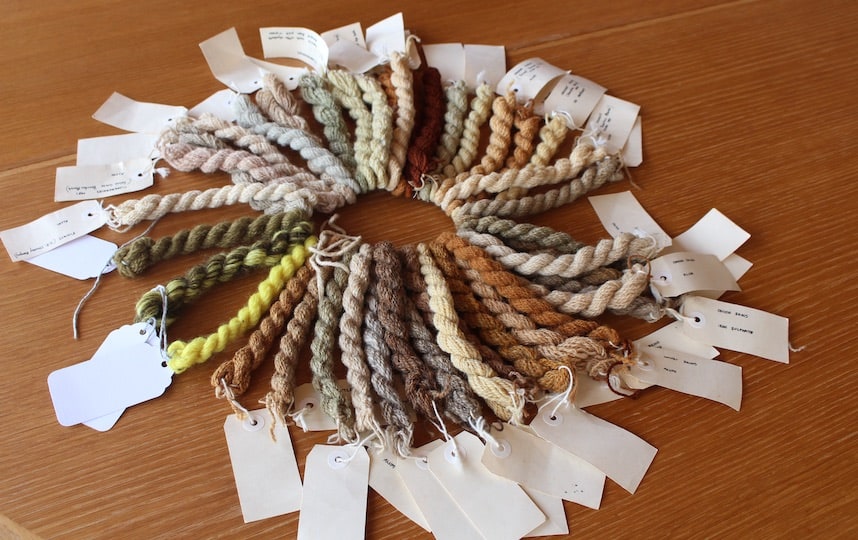
- Foraged dye plants, such as stinging nettles, oxalis, lichen, wattle bark or avocado skins and pips
- Water
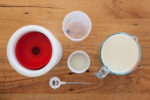
- Small bowls, for adding mordants
- A board or book for skeining wool.
Step one
Depending on the effects you would like with your dyes, skein the wool or wind it into balls. Check out YouTube if you’re unfamiliar with either of these techniques, they’re very simple.
You can use your hand for winding small balls, and a book or wooden board to wind skeins around. Loose skeins will help you achieve evenly dyed wool. Tight balls of wool dye unevenly, and create exciting ombre effects with different colours in the one ball.
Step two
Bring your primary dye ingredient to the boil over a high heat with around one litre of water, and simmer for 15 minutes or longer.
More or less water and brew time change the dye concentration, so you can experiment with these to achieve different hues and colours.
Allow the liquid to cool to warm, strain it through a fine cloth over a sieve, and then return the strained liquid to the dye pot.
Step three
Keep your dye pot just warm over a very low heat. You don’t want it too hot, and definitely not boiling. Too much heat can damage wool, as can agitating it in the dye bath.
Step four
Drop the skeins or balls of wool into the dye pot, and swish them around with tongs. Leave them in the dye liquid for one hour.
Once the desired colour has been reached, remove the pot from the heat, remove the wool from the pot and run it under warm water. Aim for a water temperature similar to the dye pot as you don’t want to shock the wool with cold water.
Gently squeeze out excess water.
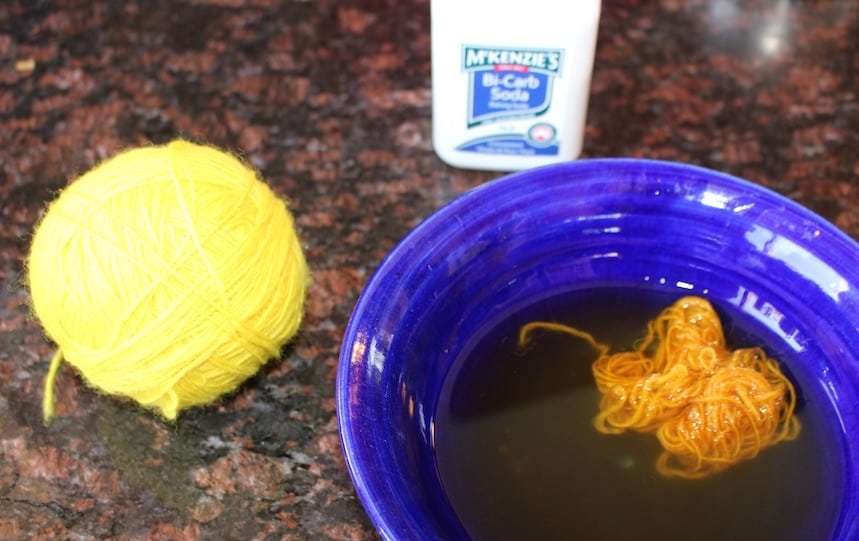
Step five
If you’re happy with the colour, you can skein your wool now (loosely, don’t stretch the fibres). If not, you can experiment with mordants such as iron, alum and sodium bicarbonate.
Mix mordants to a paste in bowls with a small amount of water. Add a little more water and then experiment with dipping or submerging your wool into these – the amount of water and time spent soaking will have different effects.
Be patient and wait for colours to change: it won’t happen instantly, but it’s magic to watch! If you’re playing around with balls of wool, this is where you can really have fun with different mordants, to create crazy pattern effects.
Step six
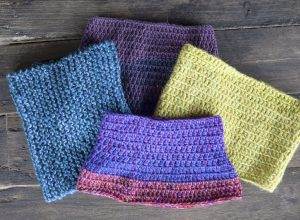
Skein the wool and allow it to dry. Once it’s dry, and you’ve rewound it into balls, it’s ready for your crafty project!