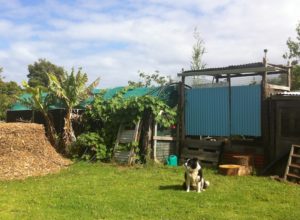
There is nothing nicer than kicking back under the stars in an outdoor fire bath. Here are a couple of ways you can build your very own.
Cast iron and pit fire bath
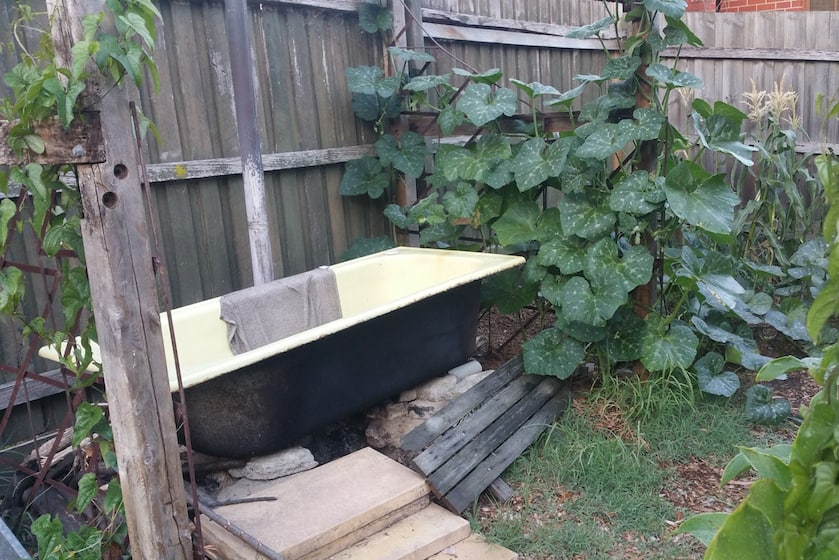
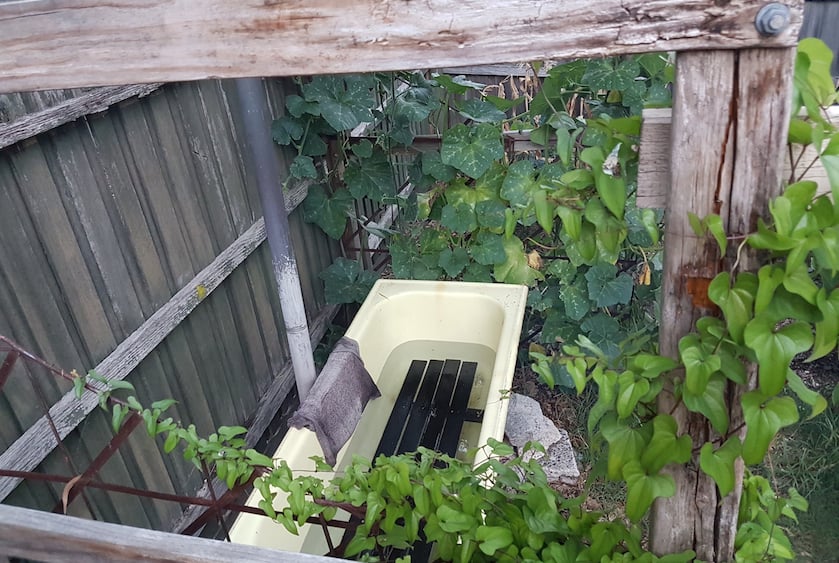
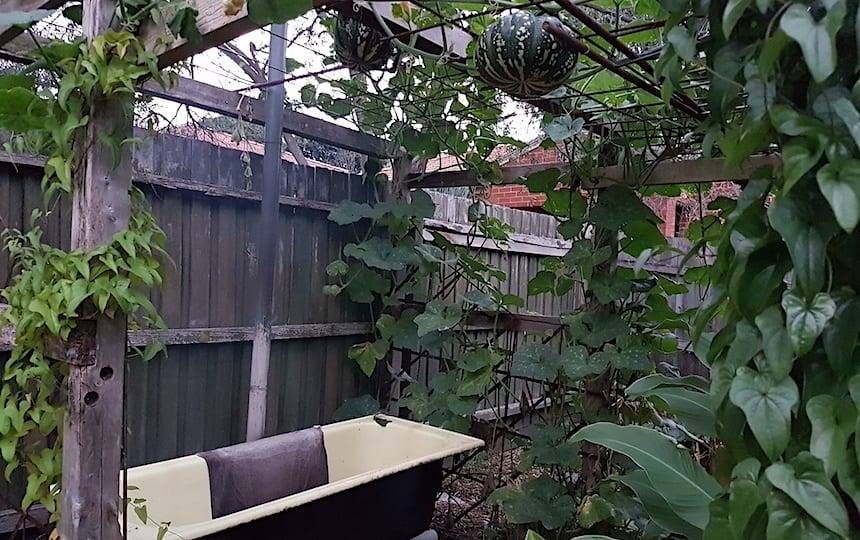
Our own fire bath is a simple design – basically a bath with a fire under it. Though not essential, it is preferable to use a cast iron bathtub as opposed to the thinner pressed iron model.
The cast iron allows the heat to be more evenly distributed around the mass of the bathtub and retains heat for longer.
How to build a cast iron and pit fire bath
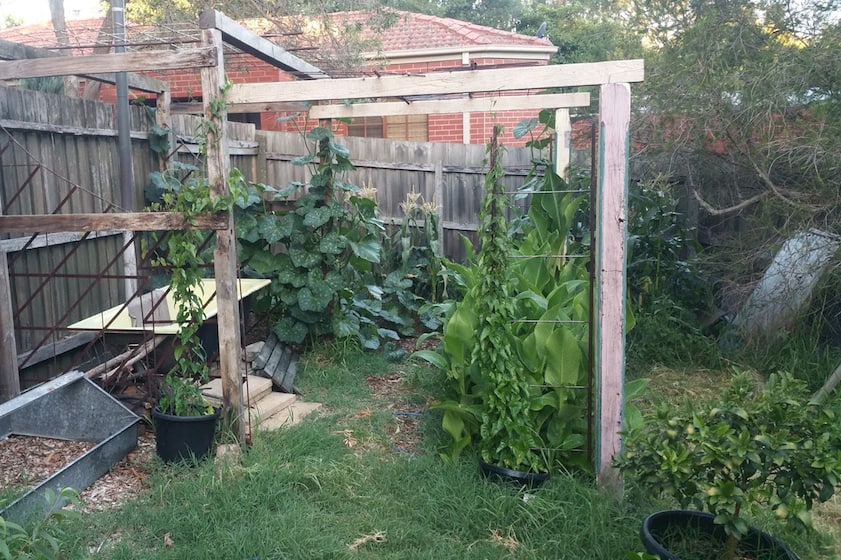
For starters, the site needs to be on reasonably level ground and on soil which can be dug. Also try to position the bath so that you can drain the water to a lower point in the landscape, preferably where the water can be used again in the garden, for instance.
You will need to build a foundation for the fire bath to sit on. This can be as complicated or as simple as you like. A simple brick or rock stack at each end works well, with the tub raised at least 30cm above the ground.
We used old broken concrete and some brick sand, but you could use bricks and mortar, cinder blocks, or even earth.
Leave space underneath for the fire pit, somewhere near the middle with at least one side open for access. Dig out a shallow pit to accommodate the fire under the tub.
Cast iron tubs are very heavy, and lifting them up onto foundations is not to be undertaken lightly. You will likely require some helpers at this stage.
One advantage of the cast iron bath however, is that its weight means once it is sitting in place, it is less likely to move around.
Before placing the bath, use a spirit level to check that your foundation has a slight fall towards the drain end. Make sure your foundation is solid and that it could hold the weight of the bath when filled with water.
Troubleshooting tips for your fire bath
The drain of the tub needs to be taken into consideration. Leave a space in the foundation to attach a pipe to direct water away. Have the water drain in a direction away from the fire pit so it doesn’t fill the pit with water when you empty the bath.
The drainpipe will need to be protected from the fire by a part of the foundation (if the pipe is PVC for instance).
To help direct smoke away from you, add a chimney to the back of the fireplace. I have used an old downpipe, fixed to a frame well above the bath. This isn’t essential but makes for a less smoky experience.
In order to avoid a burnt bum, you can build a tiny section of decking or repurpose a pallet. It is nice to sit on the timber deck which sinks to the bottom of the bath under the weight of just one person.
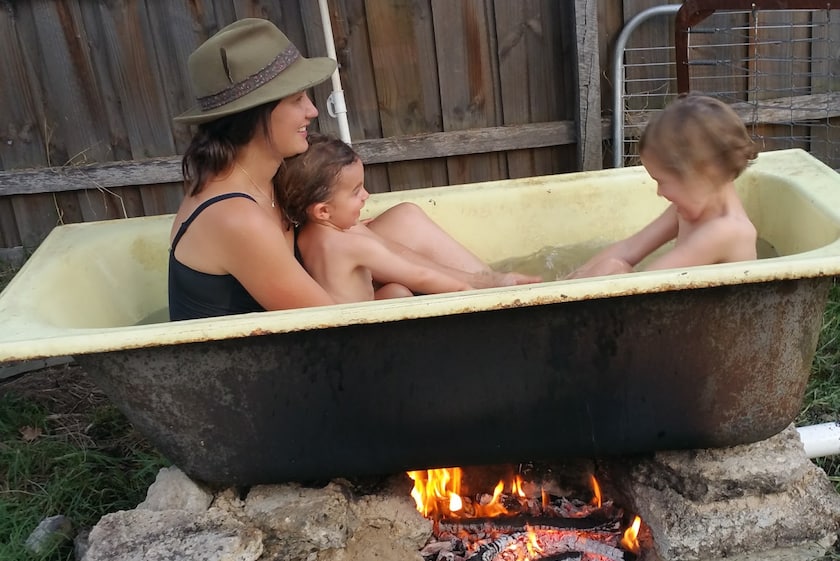
Time to hop in the fire bath!
Light the fire, letting it build sufficiently so that it can be left without going out.
Fill the bath slowly with a trickle of water from a hose. It will heat quicker than if you try to fill it too fast and have to heat a larger body of water. If you get the ratio of filling to heating just right, it can be heated and ready to go in about 30-45 minutes.
It’s best to let the fire reduce to hot coals before getting in the bath so you don’t get smoked out, especially if you didn’t install a chimney. Sit back and enjoy. The coals will keep the bathwater warm for hours, and can get pretty hot too. Try not to cook your children, cauldron-style!
Pros:
- Easy for a couple of people to build, using scraps if need be.
- There’s no need for a third party furnace, copper pipe or fittings, bar the plug and drain.
- The water heats fast and stays hot.
Cons:
- You need an iron bathtub.
- You can burn your bum or arm on the bottom or sides of the bath.
- You can get smoked out as the fire is directly beneath you.
Fire bath with plumbing and external furnace
There are many different ways to build a fire bath and I recently bathed in one with plumbing and an external furnace.
This design consisted of a wood fired furnace with an insulated copper coil water pipe wrapped around it, and a heavy plastic or fibreglass bathtub, with two holes drilled through the sides.
The copper coil was wrapped in a fibreglass fabric and attached at each end to the holes in the bathtub. The furnace was adapted from an old gas bottle.
The two plumbed holes in the side of the bath act as an outlet and an inlet for the water heated inside the copper pipe. The outlet allows cold water to move from a low point in the side of the bath to be heated at the furnace.
As the water is heated in the pipe, it slowly rises from the level of the furnace to the inlet and fills the bath with hot water. In this way the cold water slowly cycles from the bottom of the bath, gets heated, and then lands back at the level of the top of the water in the bath.
Because the inlet becomes very hot, it’s recommended to fill the bath to the level of the inlet right away. In my experience, this process was a slow and inefficient way of heating the water, but others may have had a different experience and more success.
A more efficient way to heat the water for the bath would be to have the copper coil pass through a separate body of superheated water, like in a rocket stove hot water system.
Pros:
- The fire and smoke can be slightly separate from the bath.
- The fire can burn efficiently in a furnace setting.
- You can also use any non-cast iron bathtub.
- You don’t burn your bum on the bottom or sides of the bath!
Cons:
- More complicated to build.
- The water takes awhile to heat.
- The hot water stays at the top not mixing well with the cold water.
- The hot inlet could burn your back or arm.