In just three easy steps we show you how to patch clothes by hand and give new life to a worn garment.
Have you ever had to throw out a piece of clothing because it got a stain you couldn’t remove, or a hole you couldn’t mend?
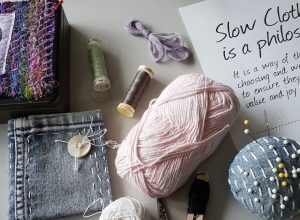
In our efforts to reduce our burden on the planet many of us buy secondhand clothes, or pass on the clothes we don’t want anymore so that they can have another life with another owner.
But what about the clothes that are just too stained or damaged to be passed on?
While some of us are crafty, and quite happy to darn our favourite stripy socks, others feel overwhelmed by the prospect of having to mend or alter a piece of clothing. Never fear!
We show you how to patch clothes in three easy steps.
The art of patching clothing
Patching is a great way to prolong the life of a favourite piece of clothing and is especially handy for kids’ clothes that can often wear out in one spot (usually the knee) but are otherwise fine.
You can patch using a machine or by hand, and it’s not too tricky. Pinning a patch before stitching is the secret.
You will need:
- A piece of clothing with a hole in it.
- A scrap of fabric.
- Needle and thread (or sewing machine if you prefer!)
Method
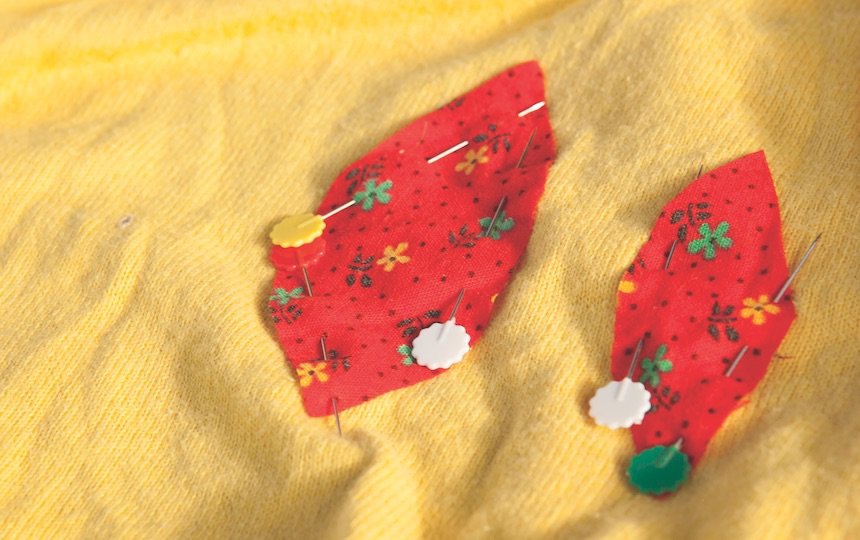
Lay your garment out flat and cut a piece of fabric slightly larger than the hole you want to cover.
Square shapes are best if you’re a beginner, but you can use any shape you want. Make sure that any patch is at least two centimetres bigger than the hole on all sides.
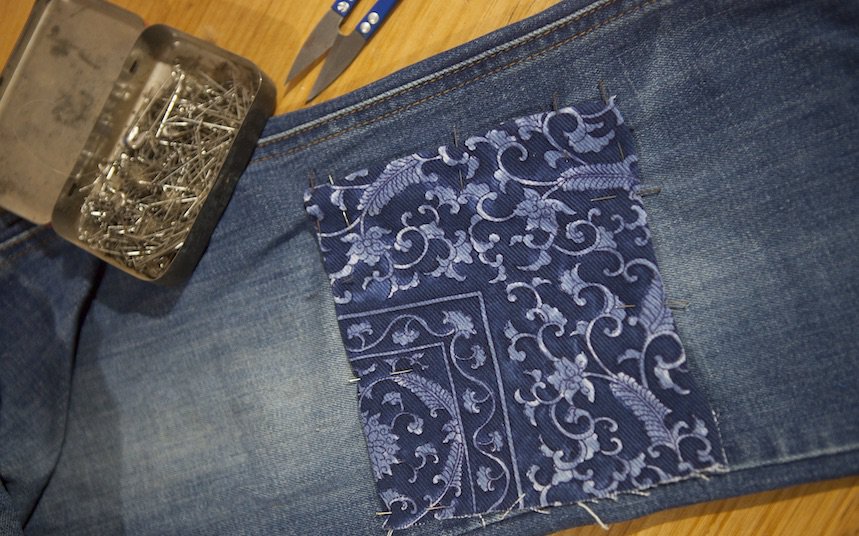
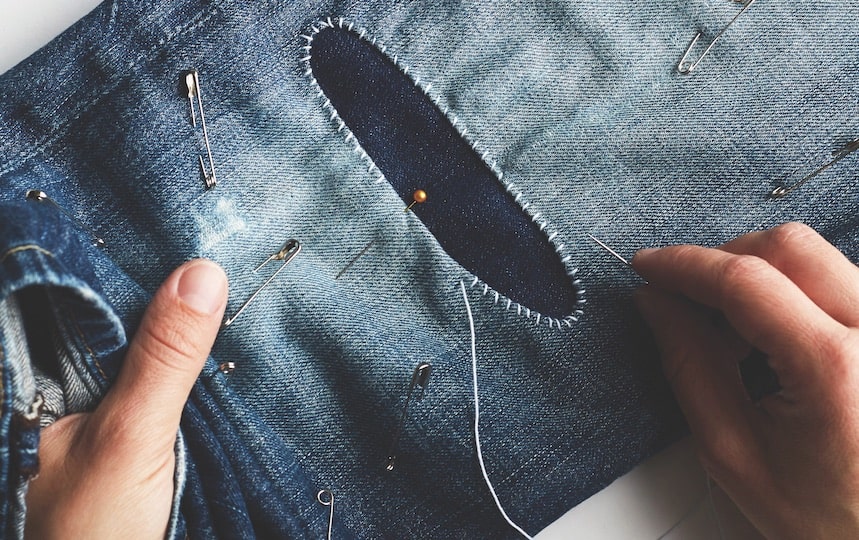
Pin the patch over the hole, turning under the edges as you go.
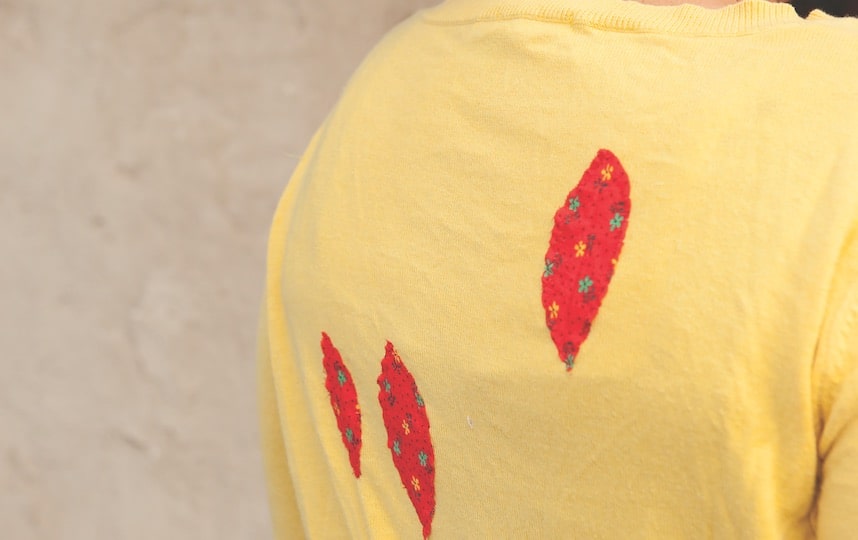
Stitch around the edge of the patch. If you’re hand sewing, experiment with something like blanket stitch. If you’re using a machine, a zigzag stitch works well.
Want more?
Need some more help when it comes to mending your clothing? Check out our video on How To Mend Woven and Knitted Fabrics here.
And in Issue #6 of Pip Magazine, we show you how to sew “double denim” knee patches, while in Issue #15 we show you how to get creative with “visible mending” – turning your holes into works of art with decorative stitching and contrasting threads.