Help your garden and vegie patch thrive by making your own biochar. We show you how…
Biochar is made by a process called pyrolysis, which means burning organic material with minimal oxygen.
When woody biomass (dried, not green) is pyrolysed, all of the volatile components burn away and leave behind a carbon skeleton in a very stable, hard carbon form. This creates charcoal that has a pore structure which provides its near-magical potency in the garden.
In the soil, this hard structure serves as a kind of ‘coral reef’ for microbial life. Bacteria move in, paint the walls with their exudates and invite some fungi over for tea.
Real biochar versus charcoal
Biochar is charcoal but not the kind you’d buy at the shop to use on outdoor barbecues. The distinction is an important one, because to be biochar, and not charcoal, it should be suitable for putting into your garden, or even sprinkling onto your food.
The charcoal you buy in packaged form may have come from treated wood, or have been treated with petrochemicals to make it smell sweet, light quickly and burn slowly. Real biochar is food grade.
How it works
Add biochar to your soil, a bit at a time, and watch it do its magic. One of the things we might notice is that it works as a sponge for water, nitrogen and many trace elements.
As a microhabitat it becomes a cache of nutrients that can be exchanged with plants on demand. It buffers against both drought and flood. It scavenges unwanted chemical residues and entrains them in insoluble forms.
Unlike the carbon that normally reaches the soil from the decay of plant and animal material (called ‘labile’ meaning unstable), this molecular structure (called ‘recalcitrant’) resists combination with oxygen to become carbon monoxide or carbon dioxide, or hydrogen to become methane. It just remains in the soil. And remains, and remains: thousands of years may come and go, but that carbon will still be there.
Improve the soil
Many people find that adding biochar to their regular gardening practices not only improves soil productivity but also makes them feel good about cutting their personal carbon footprint.
Taken to scale – if the world switched from chemical agriculture to biological agriculture – we could sequester as much as ten gigatonnes per year of carbon from the atmosphere, nearly twice the annual addition from fossil fuels.
Charging the biochar
The first error many gardeners make when putting biochar to work is to take it straight from the kiln or the backyard fire pit and spread it on their top soil, or place it into the bottom of the hole they’ve just dug for a tree. Straight from the fire biochar is hydrophobic – it repels water – and its pores are empty.
However, if gardeners put their biochar into the compost, or soak it in compost tea first, they will ‘charge’ it with microbial life – those little aerobic bacteria and fungi that do the good things for your plants.
Biochar blends are available from shops or online, but may be hard to find and expensive.
It is not difficult to make, and anyone can do it if they remember four simple rules: moisten (before grinding), ‘micronise’ (grind it fine), mineralise (add rock dust or whatever else your garden may be short of), and ‘microbialise’ (add biologicals – effective microorganisms, compost tea or aerobic compost).
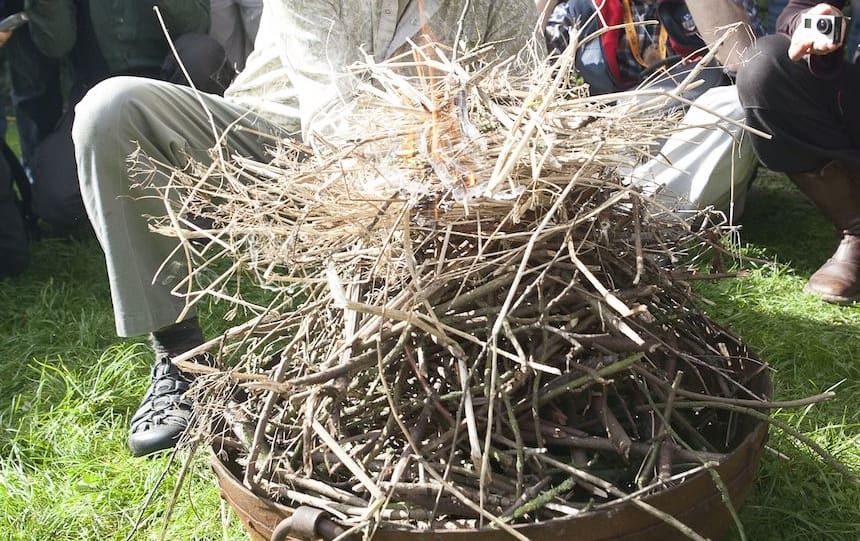
How to make biochar
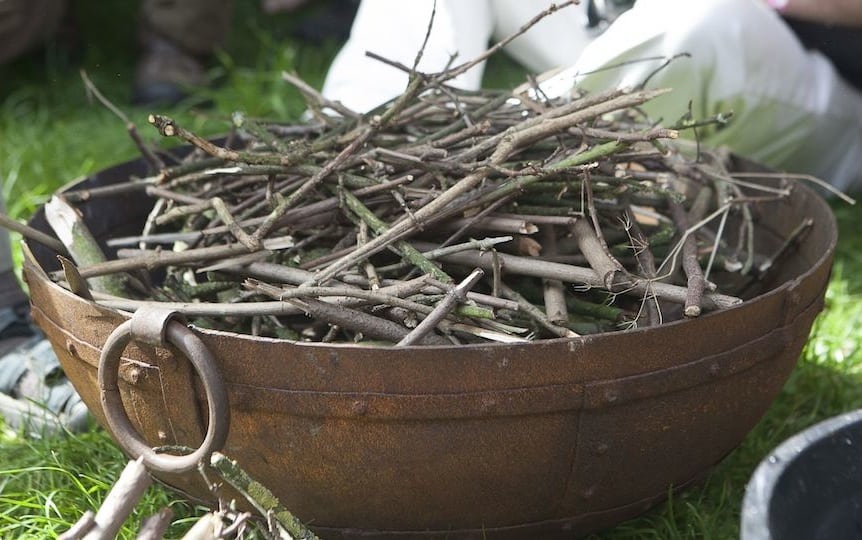
Making biochar in a drum, dish or earthen pit is a very simple way to start making charcoal and learn the process. From there it can become as elaborate or large as needed or wanted. The important part is to burn from the top down.
First you need some sort of kiln or container for your fire; these range from simple metal dishes, 44 gallon drums or a hole in the ground to much more complex engineered structures that can provide power as well.
- Fill your fire container/hole with evenly sized biomass, (sticks, twigs, off cuts).
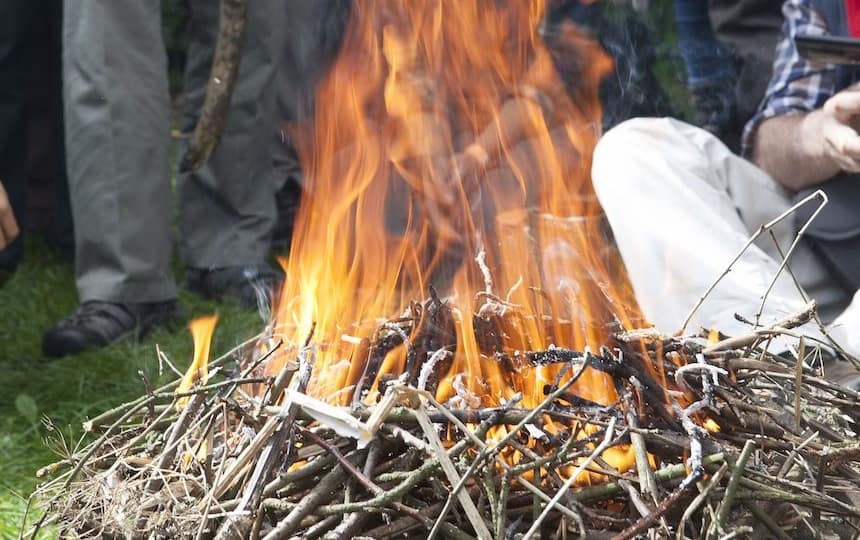
- Place some lighter, flammable fuel on the top and light it from the top.
- Once the fire has caught and fuel is burning, start excluding oxygen, either by placing a cover over the fire, covering the fire in soil or placing more biomass on top to keep the oxygen away from the lower levels. Leave to burn, keeping an eye on it of course.
- Once all the biomass has been burnt and turned into charcoal, quench the charcoal by tipping liquid over it. If you’re game, urine is the best as it fills the charcoal with valuable nutrients!
- Crush the charcoal to a fine dust while still wet. One way of doing this is in a small cement mixer with several river stones in the bottom.
- Mix through your compost to charge it with microbial life.
- Add into your soil and watch your crops thrive.