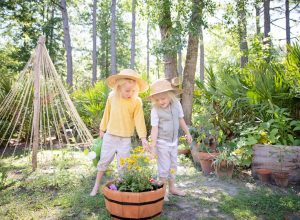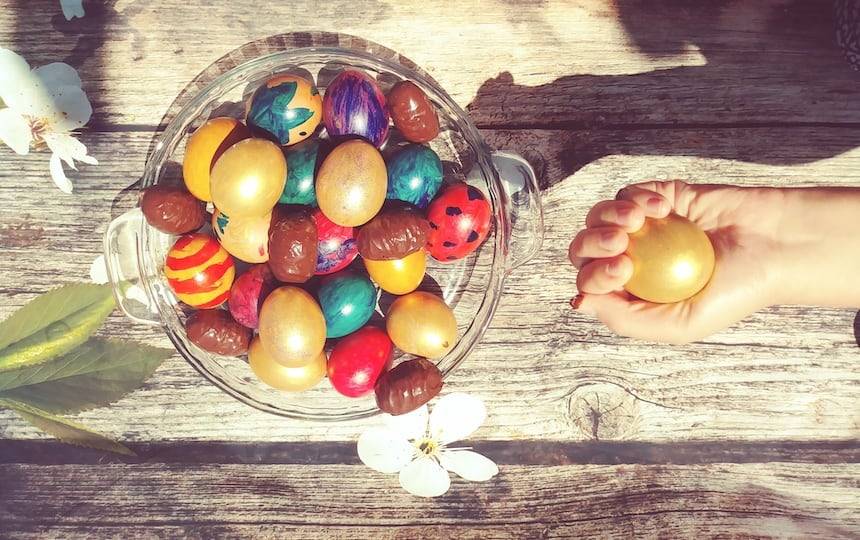
Planning an Easter egg hunt with the kids but don’t want them overloaded on sugar? These naturally dyed Easter eggs will do the trick.
A kitchen staple, you can use onion skins to create beautiful, naturally dyed Easter eggs. Not only is this a great activity to do with the kids, it also ensures they don’t simply equate Easter with chocolate and sugar. Who says you need that sweet poison to have a fun Easter egg hunt anyway?!
How to make naturally dyed Easter eggs
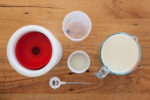
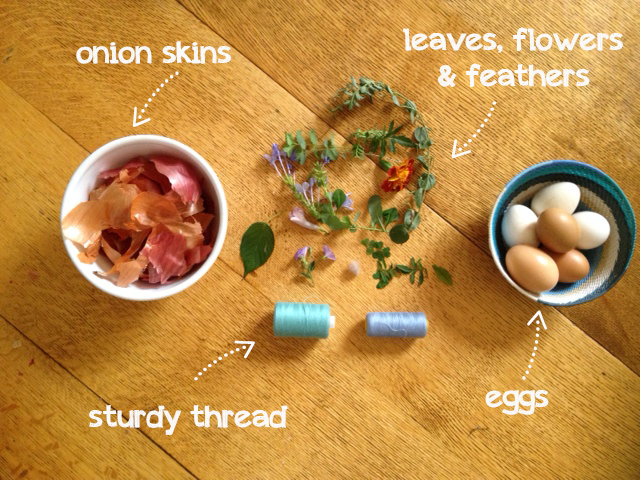
What you will need:
Step 1:
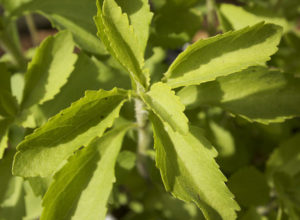
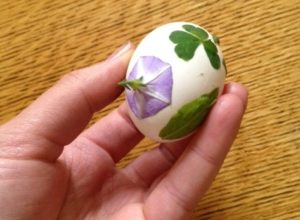
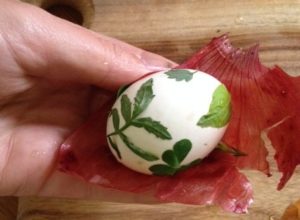
Wet an egg with water and decorate it with leaves, flowers and feathers (water helps decorations to stay in place for the next step).
Step 2:
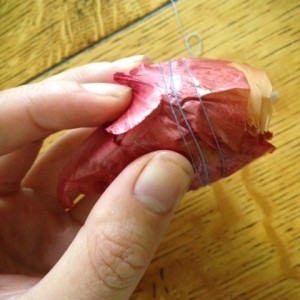
Dunk onion skins in water to soften and wrap them around the decorated egg. Using a mix of red and brown onion skins will give you lovely gradations of colour on your egg.
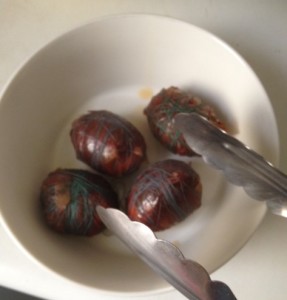
Step 3:
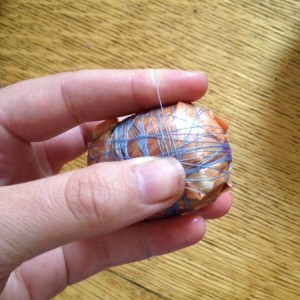
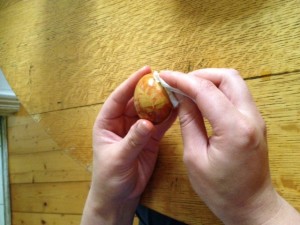
Once your egg is snug in a few layers of onion skins wrap thread tightly around it in multiple directions to secure.
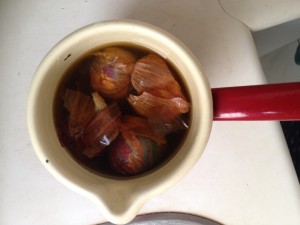
Step 4:
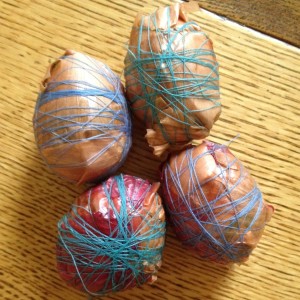
Add wrapped eggs, any leftover onion skins and water to a pan. Bring to the boil and simmer eggs for 10-15 minutes. Remove them from the pot and let them cool. (Handy tip: you can save dyed water for any other crafty projects calling for onion dye.)
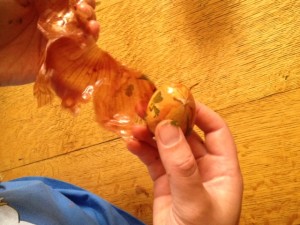
Step 5:
The moment of truth! Unwrap your eggs and peel away floral decorations to reveal each unique design. You can buff each egg with some olive oil on a scrap of fabric for extra shiny-power!
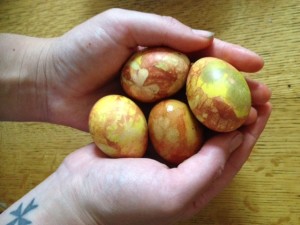

Your finished naturally dyed Easter eggs can be squirrelled away for Easter Sunday morning, or you can use them as a table decoration in the lead up to Easter.
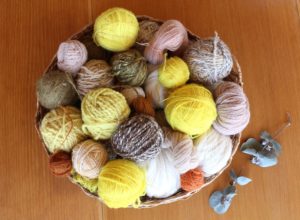
An old ball of wool, hollowed out to make a nest, makes a beautiful basket for your finished onion skin eggs. Happy Easter egg hunting!