The craft of brewed beverages, particularly beers, is enjoying a renaissance at the moment. We show you how to make your own home brew beer.
Home brew beer offers several advantages over the shop bought variety.
Firstly, you have much more control over the product, its provenance and its ingredients. Secondly, you have the ability to make truly wondrous beverages not available from the run-of-the-mill bottle shop.
And thirdly, you can do it for a fraction of the price. A from-scratch home brew can be made for between 75 cents and $2 a litre.
The main ingredients of home brew beer
Malt
Barley is used as the traditional malting grain, largely because wheat was reserved for bread, and barley can be grown on more marginal land.
The malting process is long and exacting. In simple terms, barley grains are germinated and then dried at low temperatures. Through this process the stored starch and carbohydrates are converted into sugars.
Various types of malt are subsequently roasted, and like coffee, develop a range of interesting characteristics. Flavours include toffee, toast, caramel and chocolate.
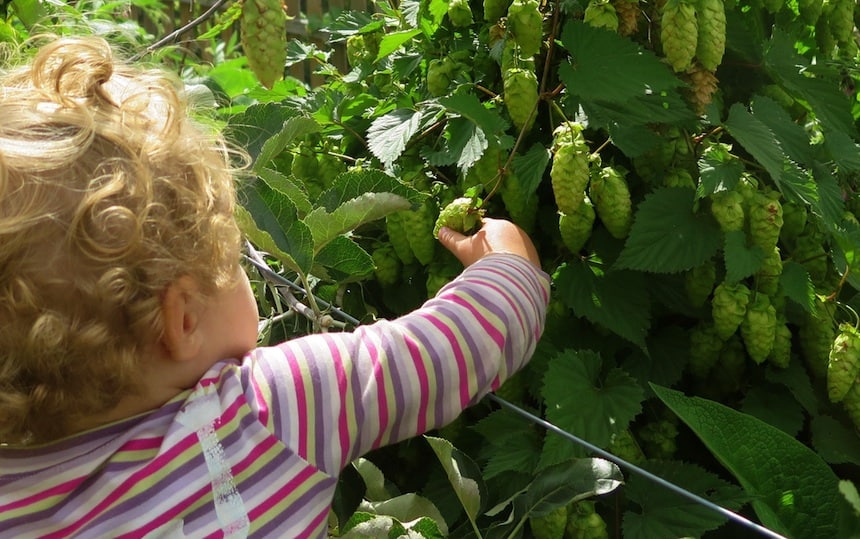
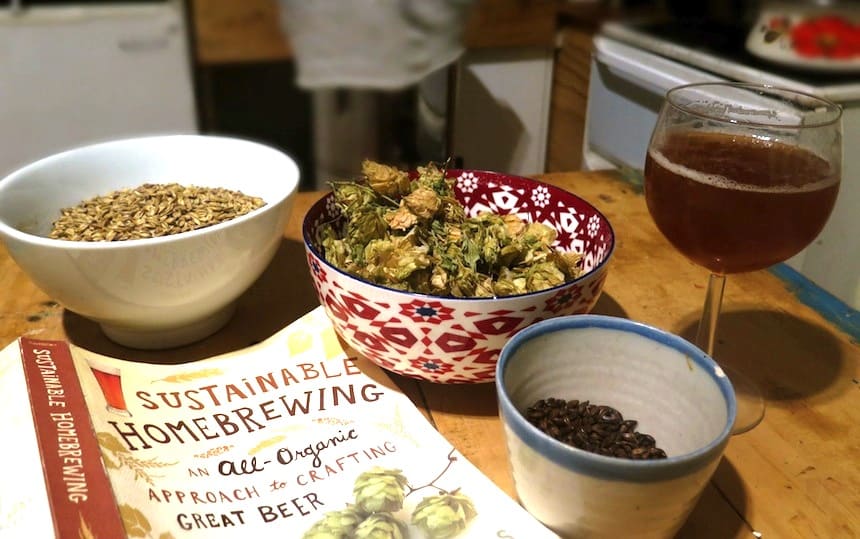 Hops
Hops
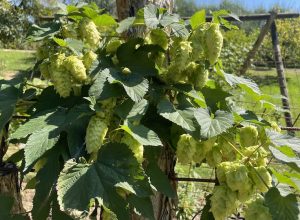
Hops are the flowers of the hop vine. Varieties of hops deliver the distinctive bitterness to beer as well as a range of aromatic flavours. The flavour profile of different varieties vary from citrus, passionfruit, earthy and floral flavours.
The vine is a vigorous perennial that grows from a rhizome. It grows quickly to five metres over summer. Hops like a cool temperate climate and grow well in the cooler parts of NSW, Victoria and Tasmania.
We suggest planting adjacent to a tall pole and harvesting the flowers in autumn. The flowers are best stored in a cool, low oxygen environment, e.g. stuffed in a jar that is stored in a cupboard.
Yeast
The yeasts used in home brew beer are usually quite specific and cultivated for their particular characteristics.
The types of yeast selected enable beers to ferment in cool temperatures (lagers), develop high alcohol levels (some ales) and deliver complex sour flavour profiles (saisons).
Fortunately, it is relatively easy to collect yeast from one batch of brew and use it in later brews, removing a fairly expensive brewing component and reducing overall packaging.
Store yeast in a sterile container in the fridge and activate at room temperature with a little extra malt when ready to use.
Water
Water makes up the bulk of the volume of the beer and brings a range of minerals and nutrients to it.
If you think your tap water is good enough to drink, it should be fine to make beer with. You may wish to use a charcoal filter to remove chlorine from municipal water supplies.
Soft water or hard? Luckily there are beer styles that suit different water types. Harder water suits stouts, IPA and English-style beers. Softer water suits Pilsners and European ales.
Home brew beer: Method
In a nutshell, the process of making beer involves soaking malted grain in hot water to extract fermentable sugars. The resulting wort is then boiled and flavoured with hops.
The wort is cooled, yeast is added and left to ferment. The beer is then bottled with a little extra sugar (to make it bubbly), stored and then drunk. However, with beer the devil really is in the detail, and there are many steps to take a beer from respectable to totally awesome.
Many folks have played around with the ‘goop in a can’ or beer kit method. This is a great introduction to the art, however this is usually a gateway that leads towards mashed beers. If you want the full malt flavours and rounded hop characteristics, then you need to mash your own beer from scratch.

The full mash process
The following process shows how to brew a fairly simple blonde ale.
Ingredients
- 5 kg whole grain pale malt
- 1⁄2 kg whole grain crystal malt
- 70 g Cascade hops
- 20g Citra hops
Materials
- Urn (15L capacity)
- Large saucepan or insulated esky with spigot (10L capacity)
- Pot/pots (20L combined capacity)
- Food grade thermometer
- Gauze/mesh or ‘hop sock’
- Hydrometer (optional but helpful)
- Large stirring spoon
- Plastic or glass fermenter with airlock
- Bottle capper
- Clean, empty beer bottles
- Crown seals (bottle caps)
1. Crack the pale and crystal malt grain. This is usually done at your home brew supply store, or if you have a home grain mill. This cracks the shell of the grain and creates greater surface area to extract sugars.
2. Mashing. Add the malt to water and keep between 65 and 67 degrees for an hour or so. This process extracts the sugars into the water. An insulated thermos or thermostat controlled urn can be used to keep the mash at the right temperature.
Alternatively, mash the grains in a saucepan and when the temperature reaches 67 degrees, wrap the saucepan in blankets for at least an hour.
3. Sparging/lautering. Gradually drain the water from the mash whilst simultaneously introducing fresh hot water. Ideally the ‘lauter’ water is very gently washed over the top.
4. The Boil. Bring the wort to a rolling boil and start adding hops and other flavours. Use a gauze ‘hop sock’ to easily strain out the hops.
At the start of the boil, add 50g Cascade hops, and after 50 minutes, add the other 20g. After one hour add the 20g Citra hops and turn off the heat. Remove the hops from the pot.
Normally the mash is boiled for around an hour. Hops added towards the beginning add bitterness and the hops added towards the end add more aroma. Often several different types of hops are added to add complexity of flavour.
NOTE: After this point hygiene matters. Only things that have been sterilised should touch the wort.
5. Chill out. It’s time to cool the wort, the quicker the better. Some people use heat exchangers made from copper pipe. An easy solution is putting the hot pot/brew barrel into the bath- tub filled with cold water. This way the brew can be cooled in about an hour.
6. Pitch yeast. The wort should now be in a brew barrel. Yeast is added with a vigorous stir. This adds some much-needed oxygen to the wort and will start the actual brewing process. For this blonde ale, use an American or English ale yeast. For an experienced home brewer, steps 2–6 take around five hours.
7. The Wait. The wort should start bubbling after a day or two. Depending on the temperature, yeast strain and the alignment of the planets, the beer will take between five and 150 days to finish brewing.
This ale should take two weeks to brew. Standard beers are much closer to the five-day mark. The use of a hydrometer will accurately tell you when brewing has finished.
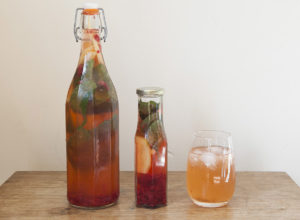
8. Bottling and Conditioning. The beer is bottled in a crown seal bottle with a small addition of sugar and capped. In a few weeks, it should be ready to drink. Stronger heavier beers mature over months or years.
9. Enjoy! This is the point of the whole process. Invite your friends around and take care of your peeps.