Learn how to extract honey easily with our DIY slow honey harvester.
Beekeeping can be an expensive business. On top of hive equipment, the cost of harvesting gear can run into the hundreds.
Extracting honey can also be a time-hungry exercise. And it takes a lot of energy. That is, if you don’t have an electric spinner.
Enter the slow honey harvester!
Just like barefoot beekeeping, slow honey harvesting bucks the commercial beekeeping trend. These slow harvesters work over the course of days, weeks and even months. But the rewards are worth it. Yummy honey, and barely any of the effort required to spin frames.
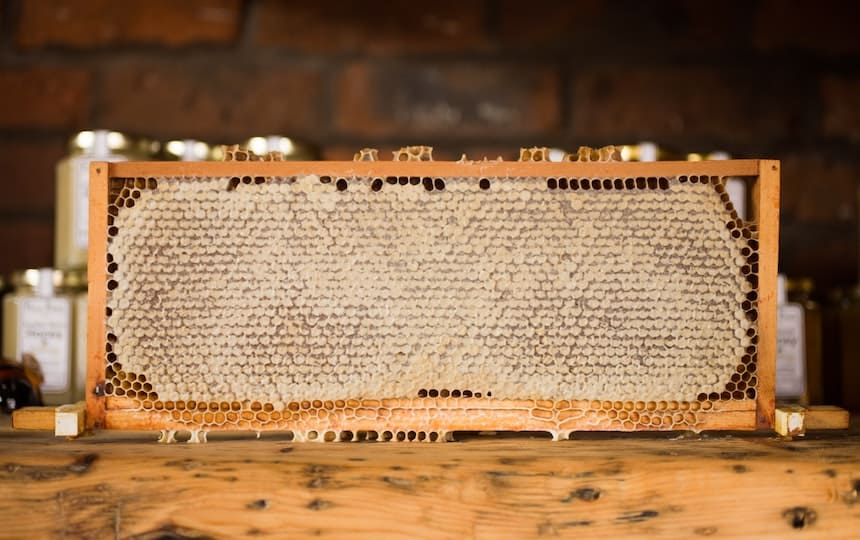
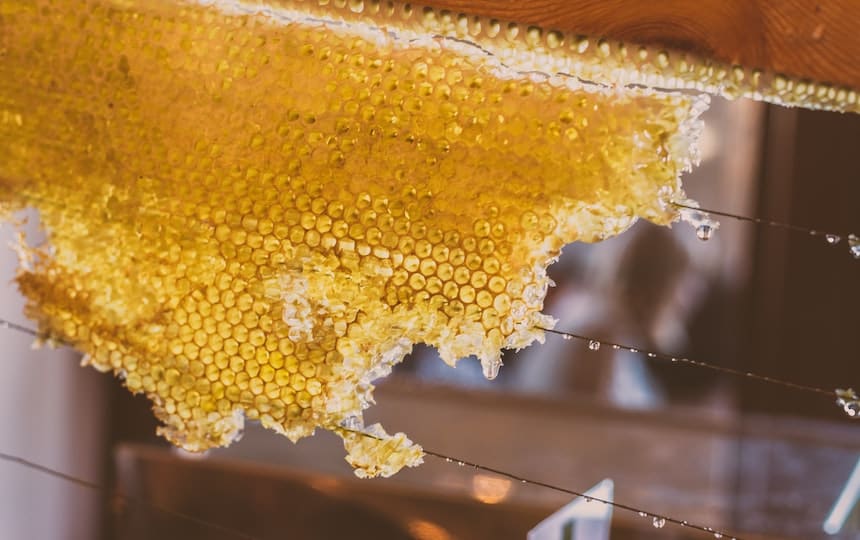
This slow harvester is perfect for harvesting from top bar hives. Or even wild honeycomb.
Even if you use a conventional spinner for your frames, using this method is still handy. You can use it to extract honey easily from your cappings, or for burr comb. It is a great way to get all the honey you can for your beekeeping work.
We always have a few buckets on hand to process any comb we can’t fit into our spinner and for cappings, and it works a treat.
How to make your own DIY honey harvester
You will need:
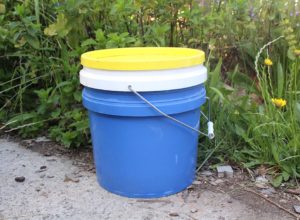
- 2 x food grade plastic buckets that will nest inside one another. You can get these for free from many food manufacturers.
- One lid that fits well.
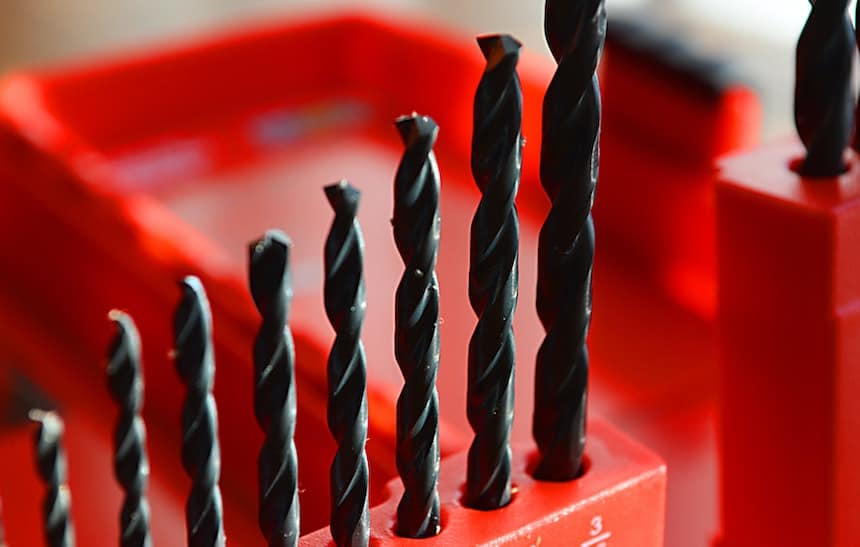
- A drill or screw punch.
- Honeycomb to be harvested.
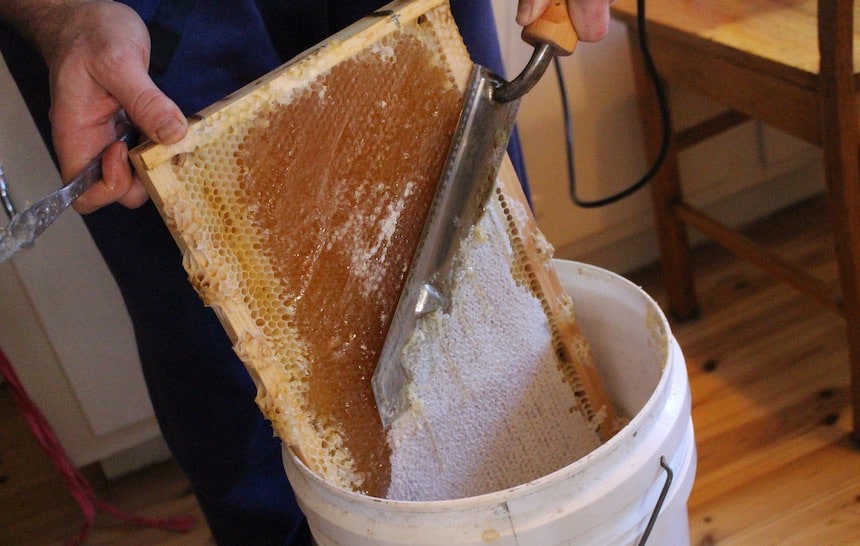
- A hot extraction knife OR a large knife and a bowl of hot water.
To make:
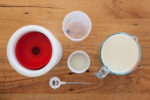
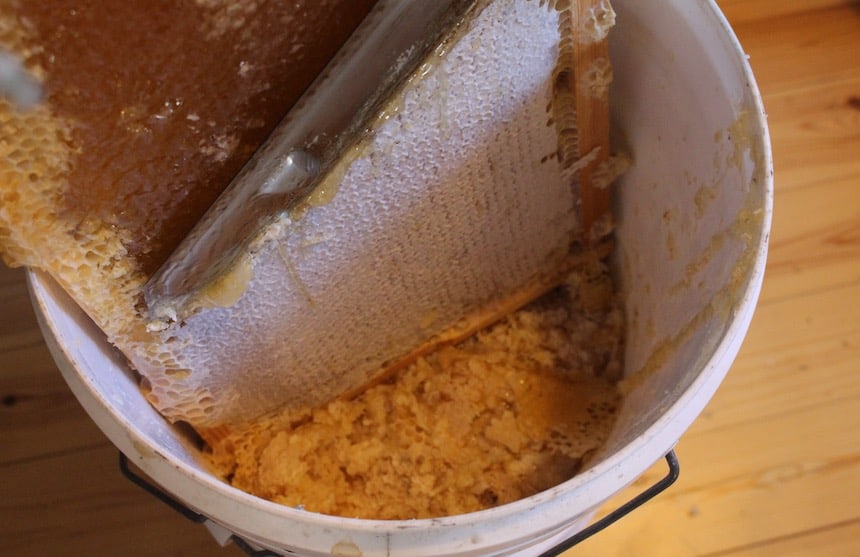
In the bottom of one bucket drill a bunch of holes using a 5 or 6mm drill bit, or screw punch attachment.
Sit the holey bucket in the other bucket.
Fill with honeycomb or cappings.
Using a clean ladel or spoon, press down gently but firmly on the comb to crush it.
Put the lid on top bucket and leave buckets in a spot free from ants for a few days (or even longer if you’re not in a hurry for the honey).
At this point you can remove the top bucket and scoop out the clear strained honey from the bottom bucket. Once you replace the top bucket, stir the comb around and crush again with a clean spoon or ladel.
Repeat this process as many times as it takes until you no longer get any honey dripping into the bottom bucket. Your comb is now ready to be processed into beeswax. And you can use the bucket to start another batch of slow honey harvesting!